本文最后更新于:2 年前
Windows下配置maven环境
- 下载地址:
https://maven.apache.org/download.cgi
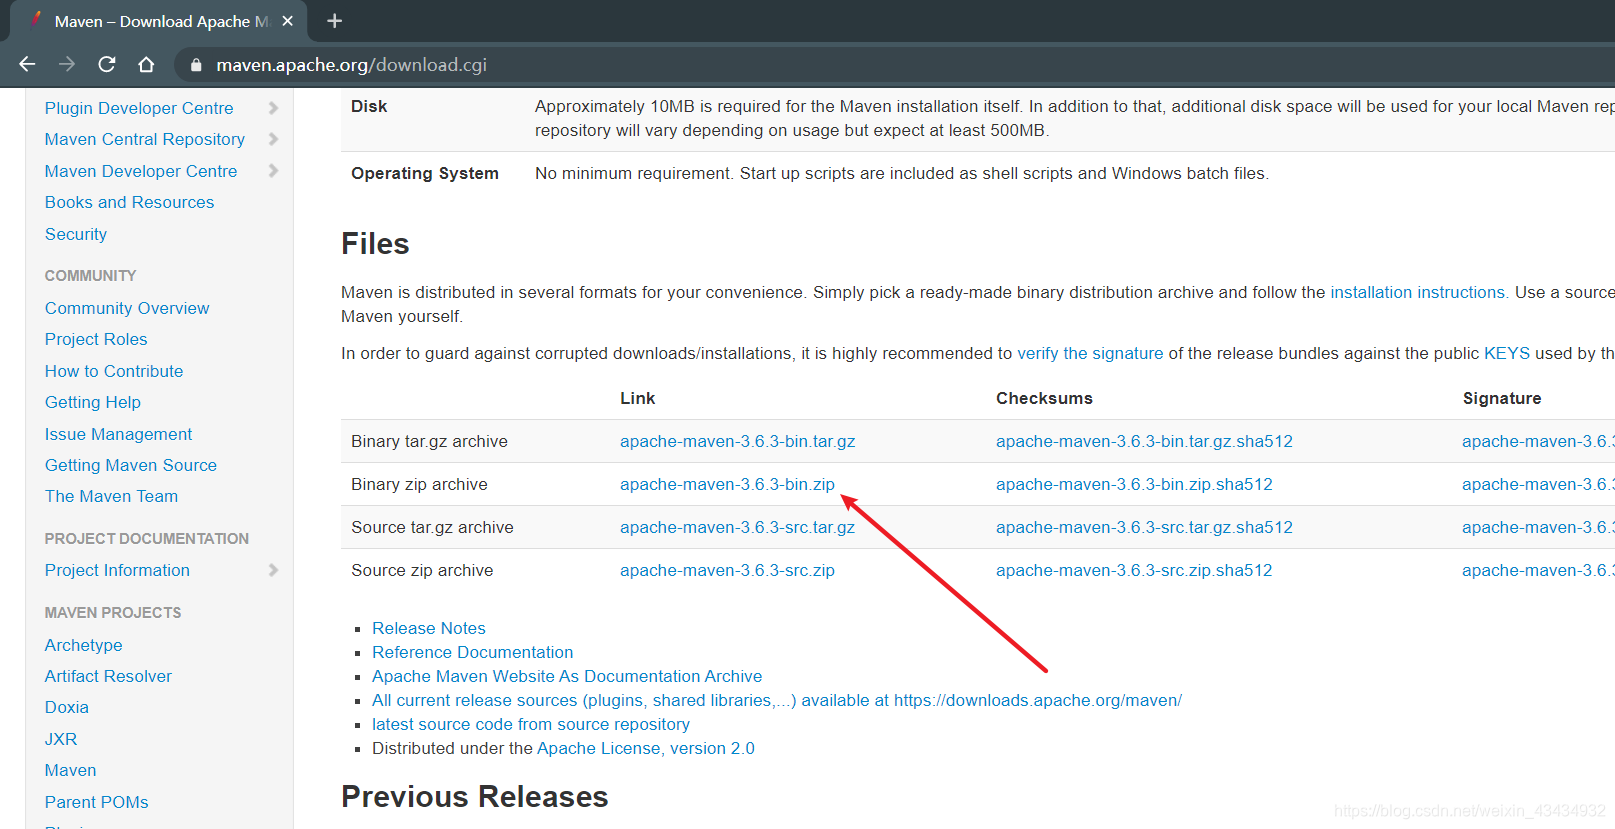
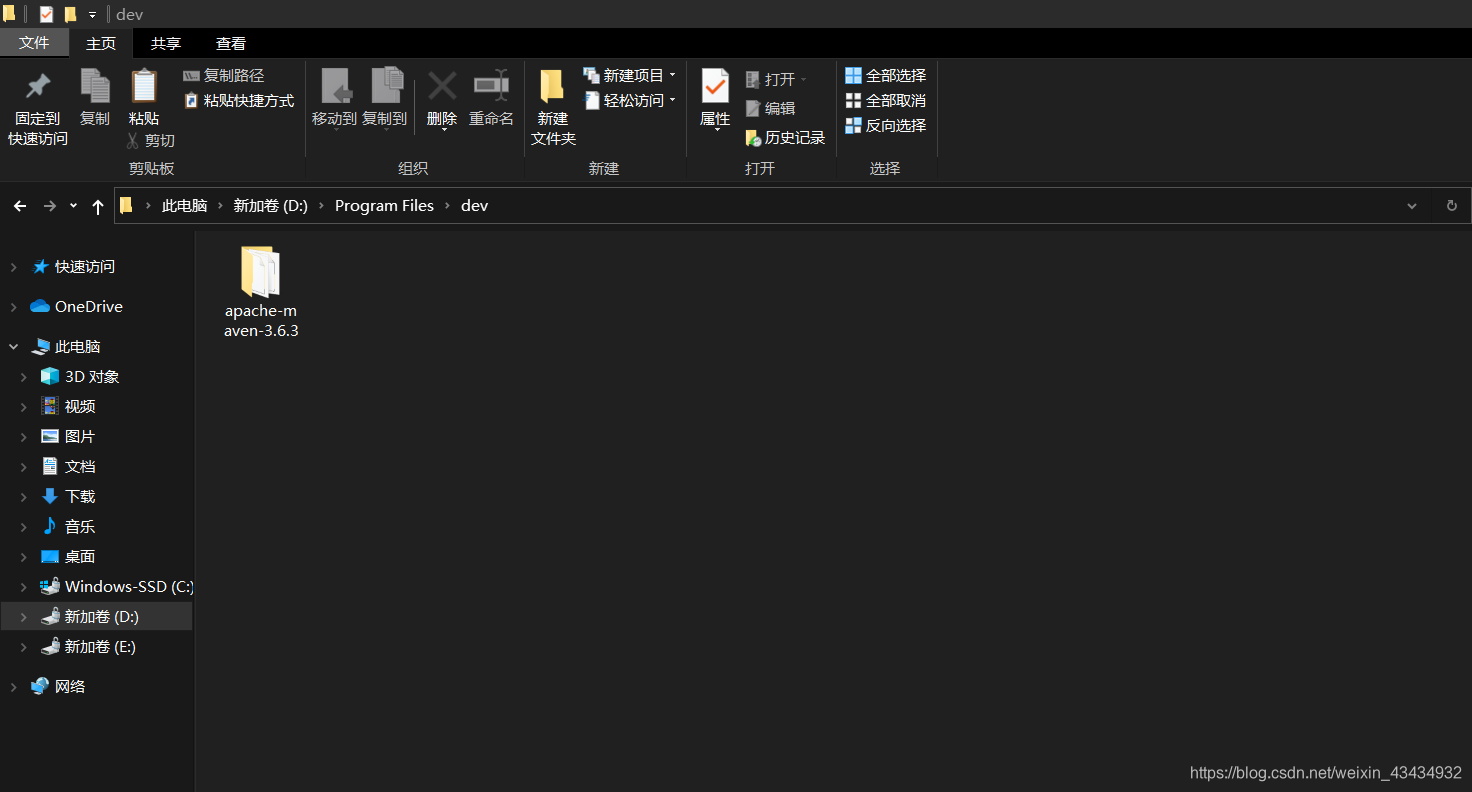
- 下载并解压到目录
- 配置
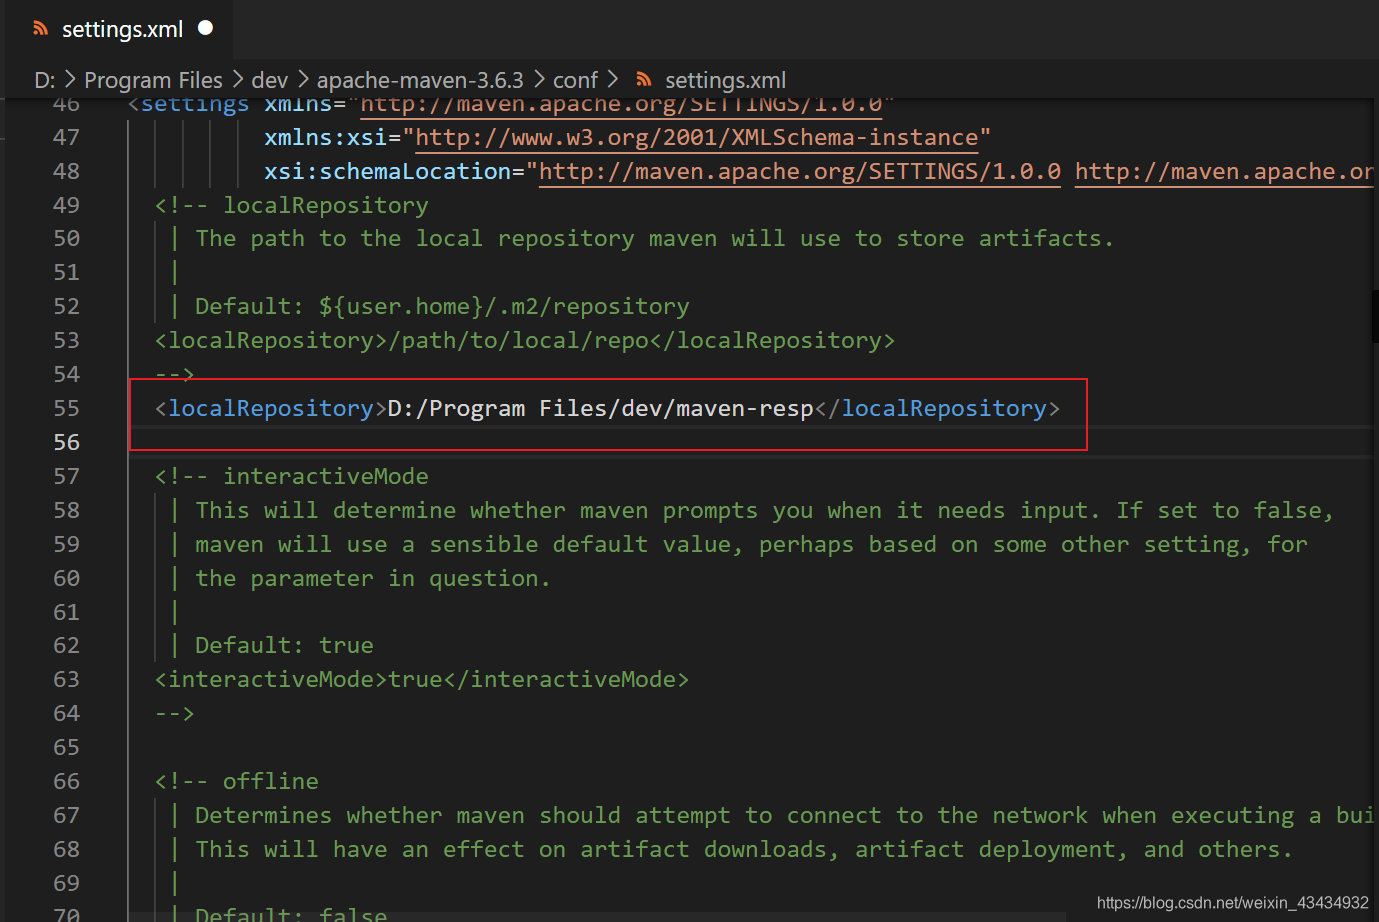
修改Maven的配置文件settings.xml
路径:”D:\Program Files\dev\apache-maven-3.6.3\conf\settings.xml”
1)修改本地仓库:
1
| <localRepository>D:/Program Files/dev/maven-resp</localRepository>
|
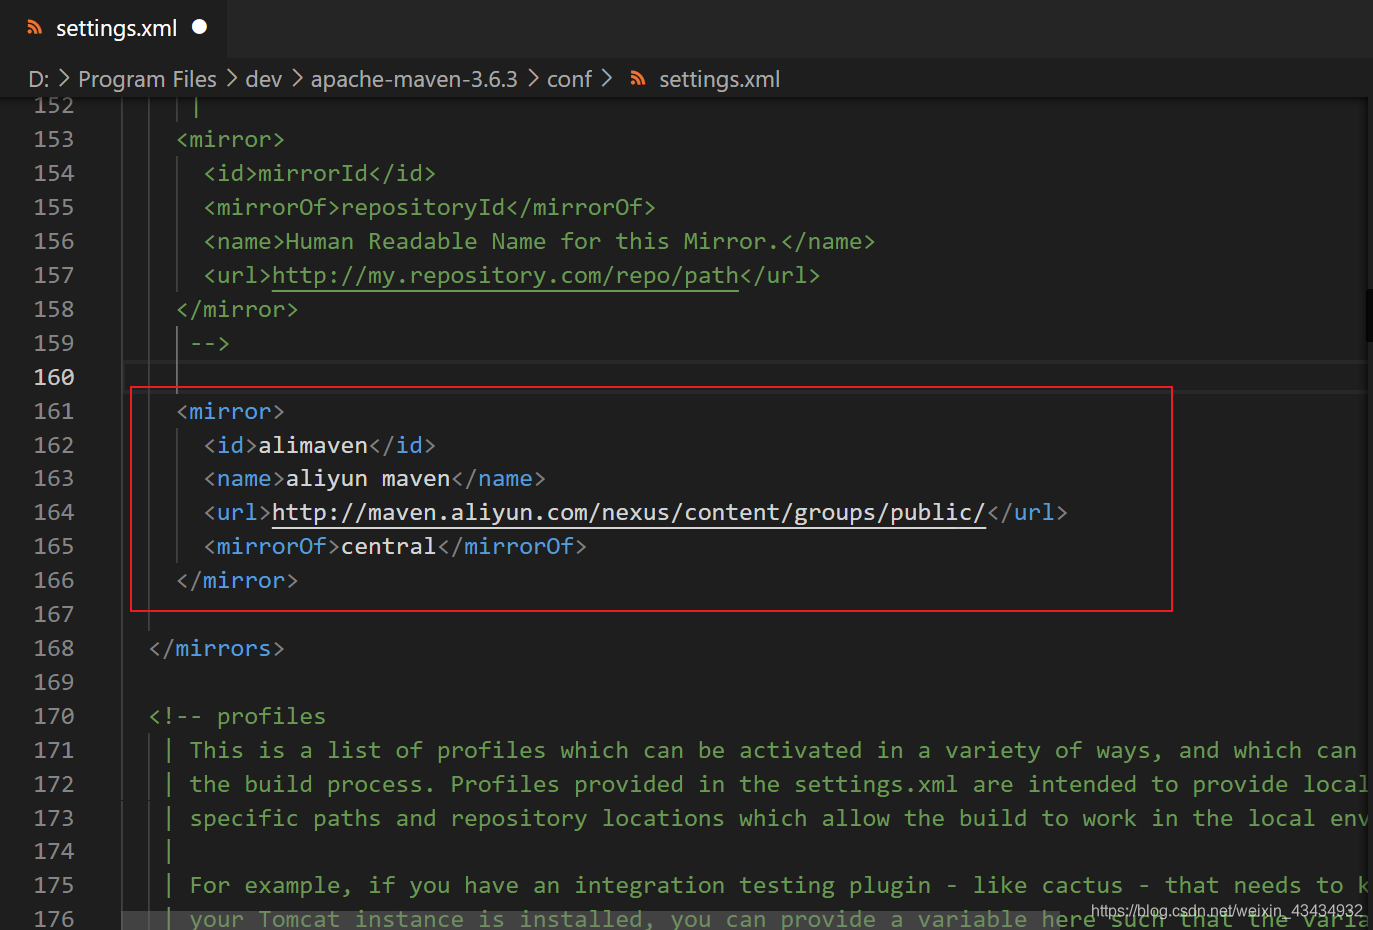
2)修改中央仓库:
1
2
3
4
5
6
| <mirror>
<id>alimaven</id>
<name>aliyun maven</name>
<url>http://maven.aliyun.com/nexus/content/groups/public/</url>
<mirrorOf>central</mirrorOf>
</mirror>
|
3)配置jdk:
1
2
3
4
5
6
7
8
9
10
11
12
| <profile>
<id>jdk-1.8</id>
<activation>
<activeByDefault>true</activeByDefault>
<jdk>1.8</jdk>
</activation>
<properties>
<maven.compiler.source>1.8</maven.compiler.source>
<maven.compiler.target>1.8</maven.compiler.target>
<maven.compiler.compilerVersion>1.8</maven.compiler.compilerVersion>
</properties>
</profile>
|
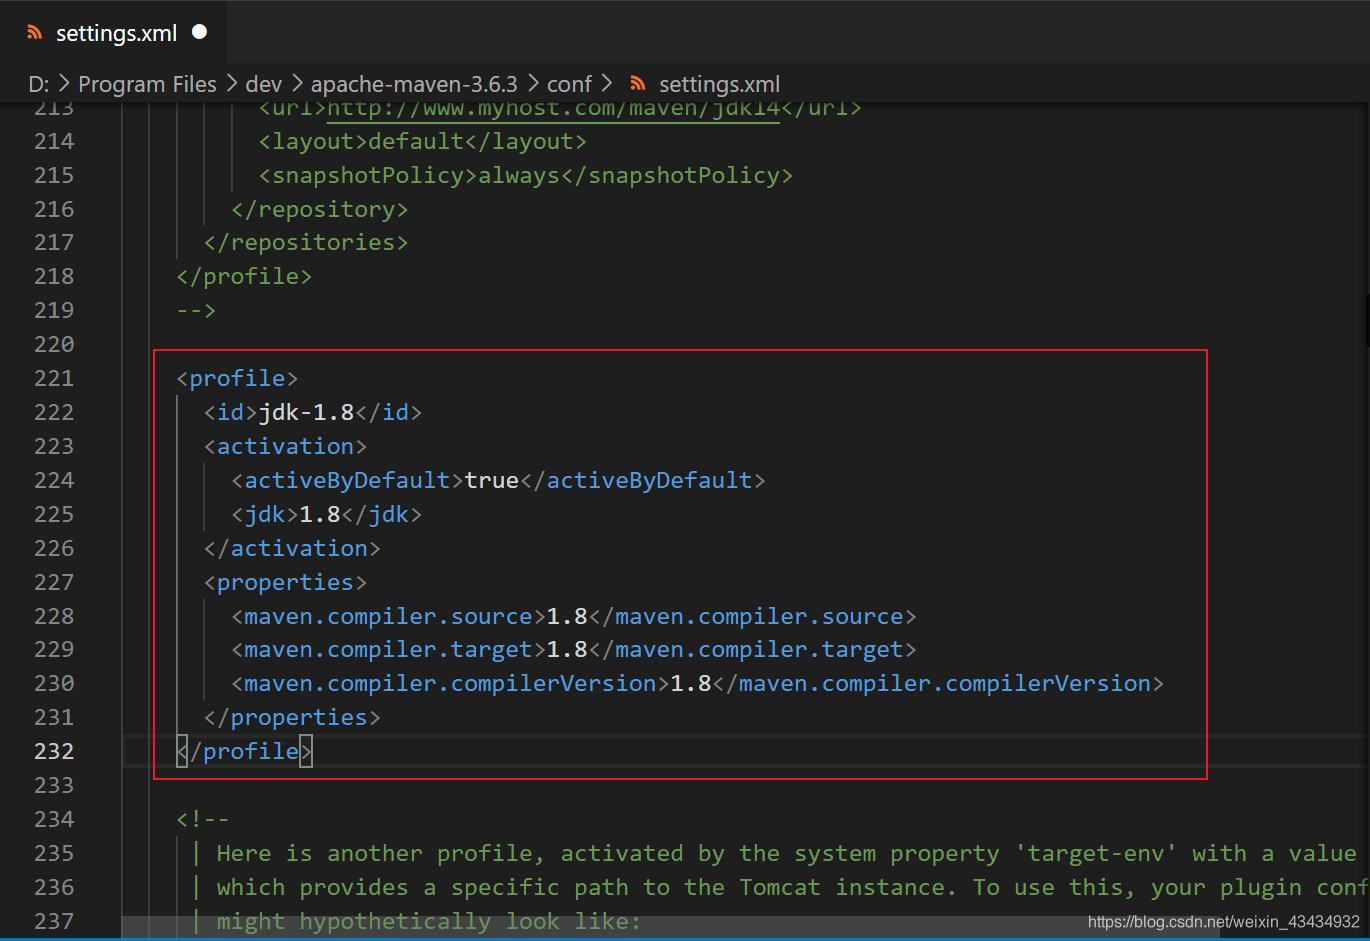
修改完成,保持即可。
- 在idea中使用
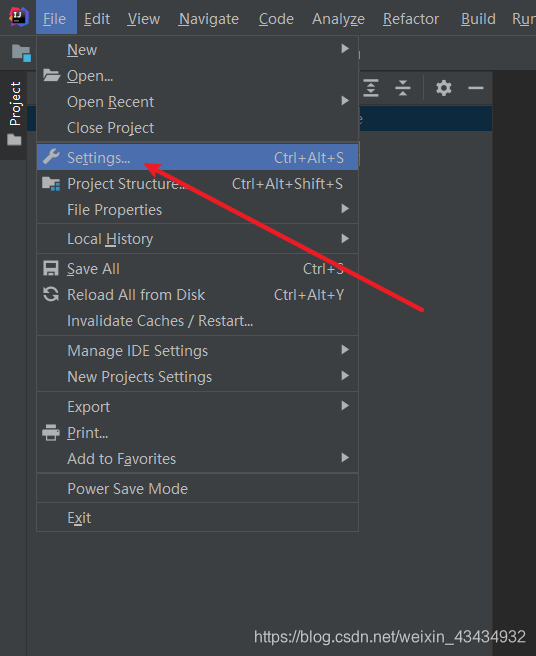

5.点击 ok, 到这里就可以正常使用了。